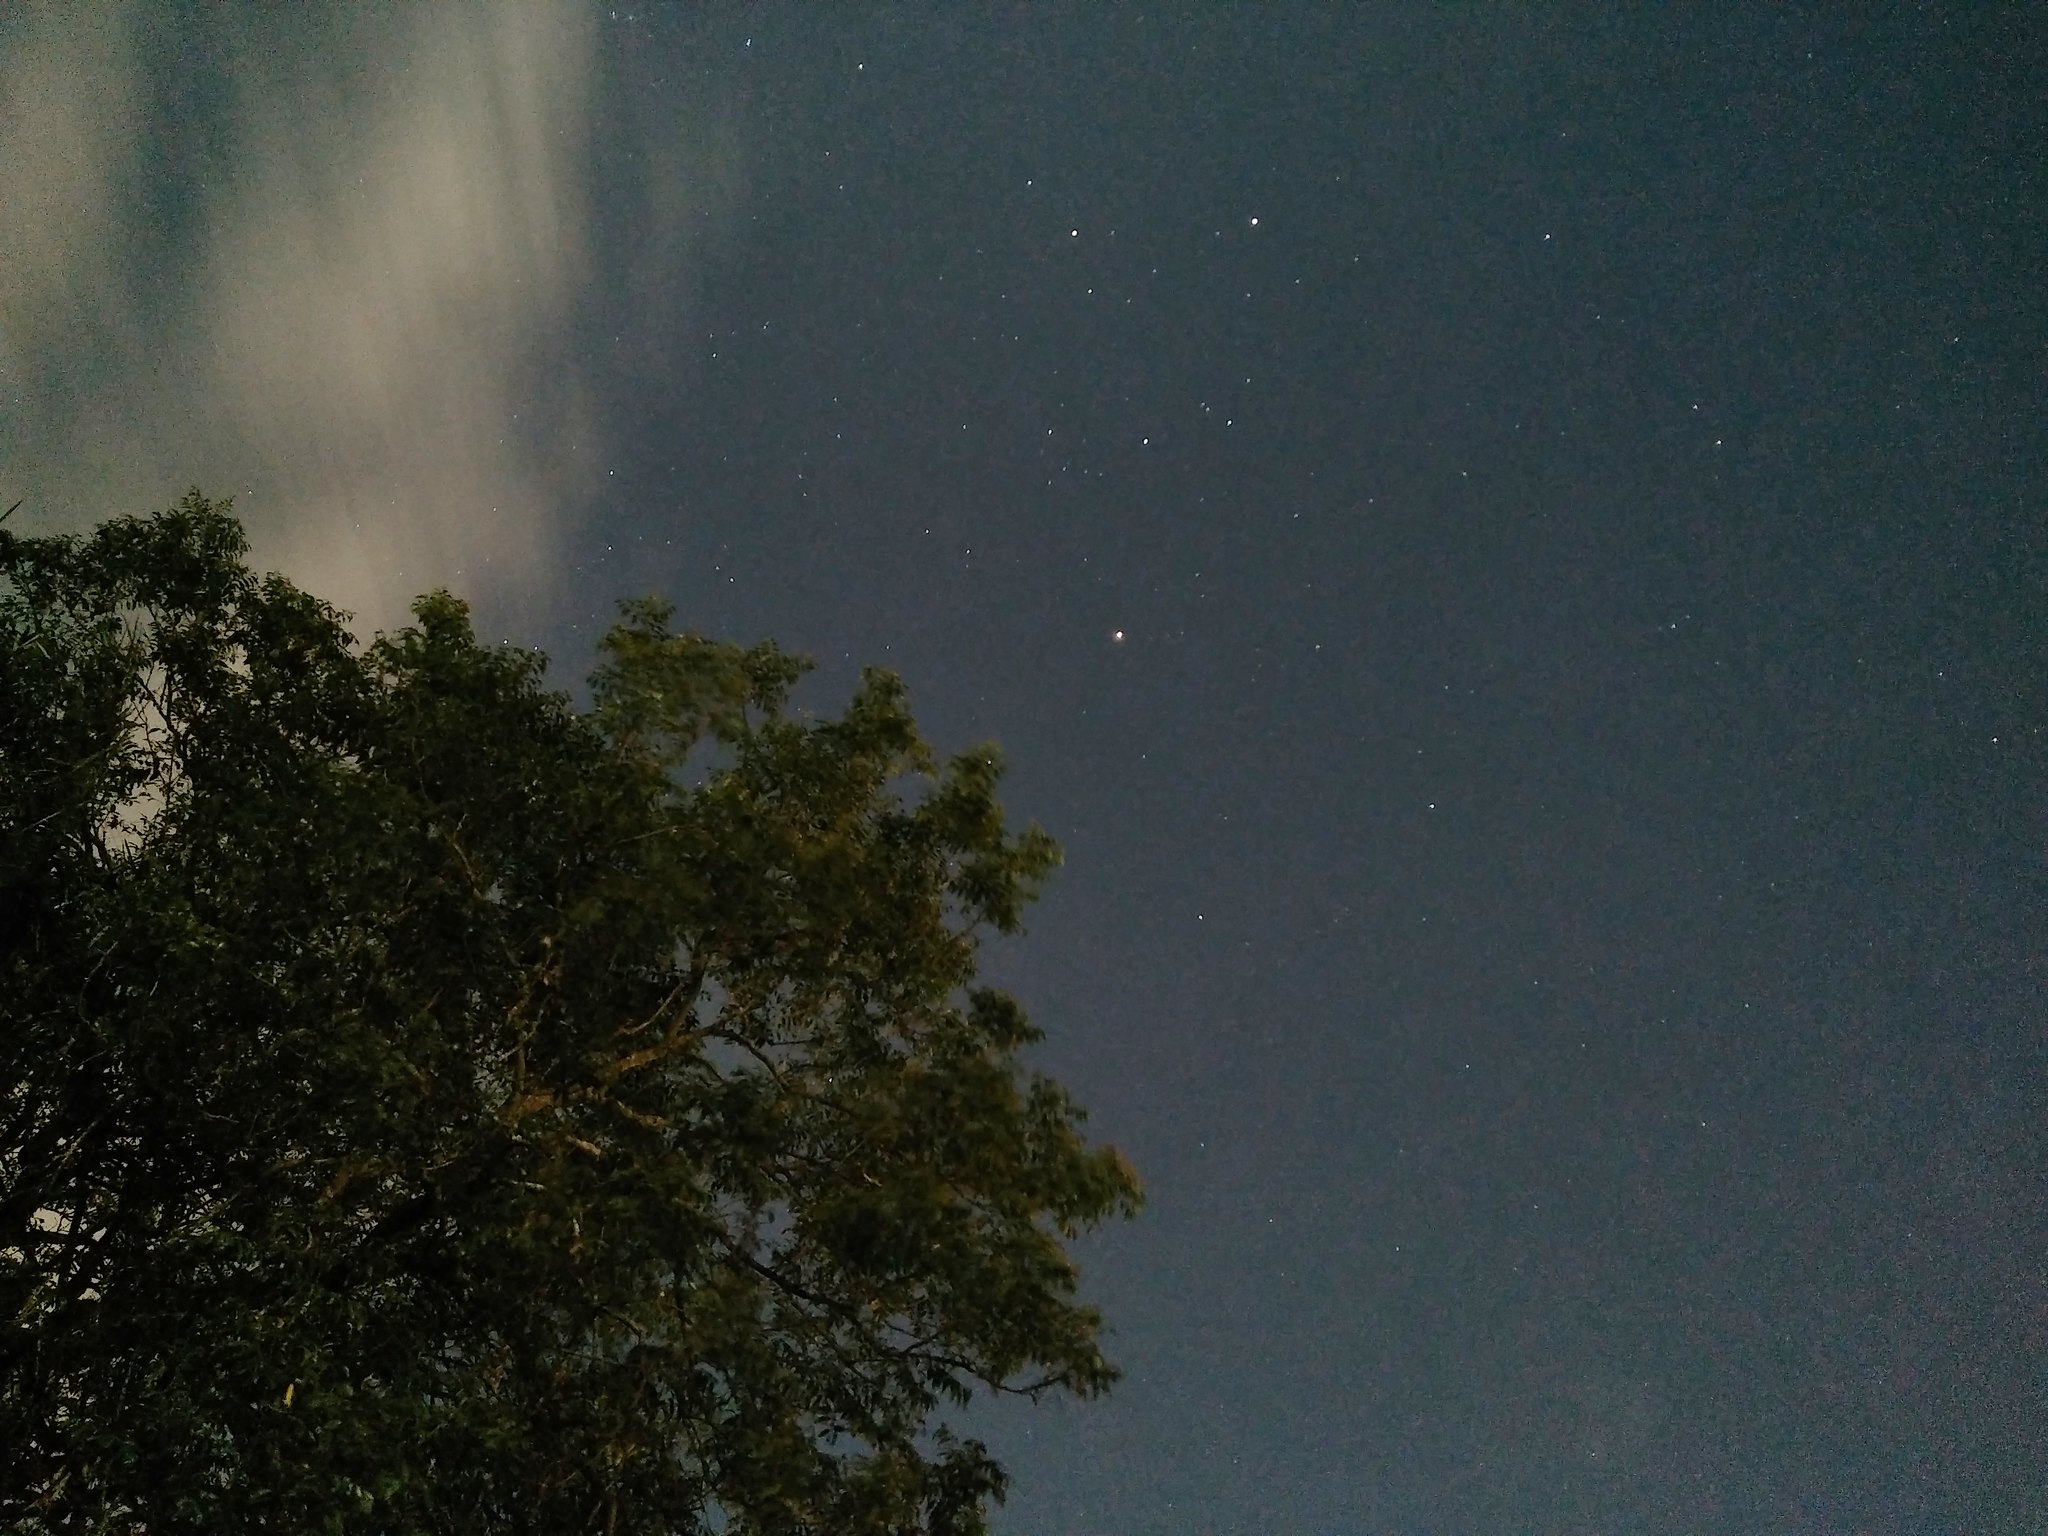
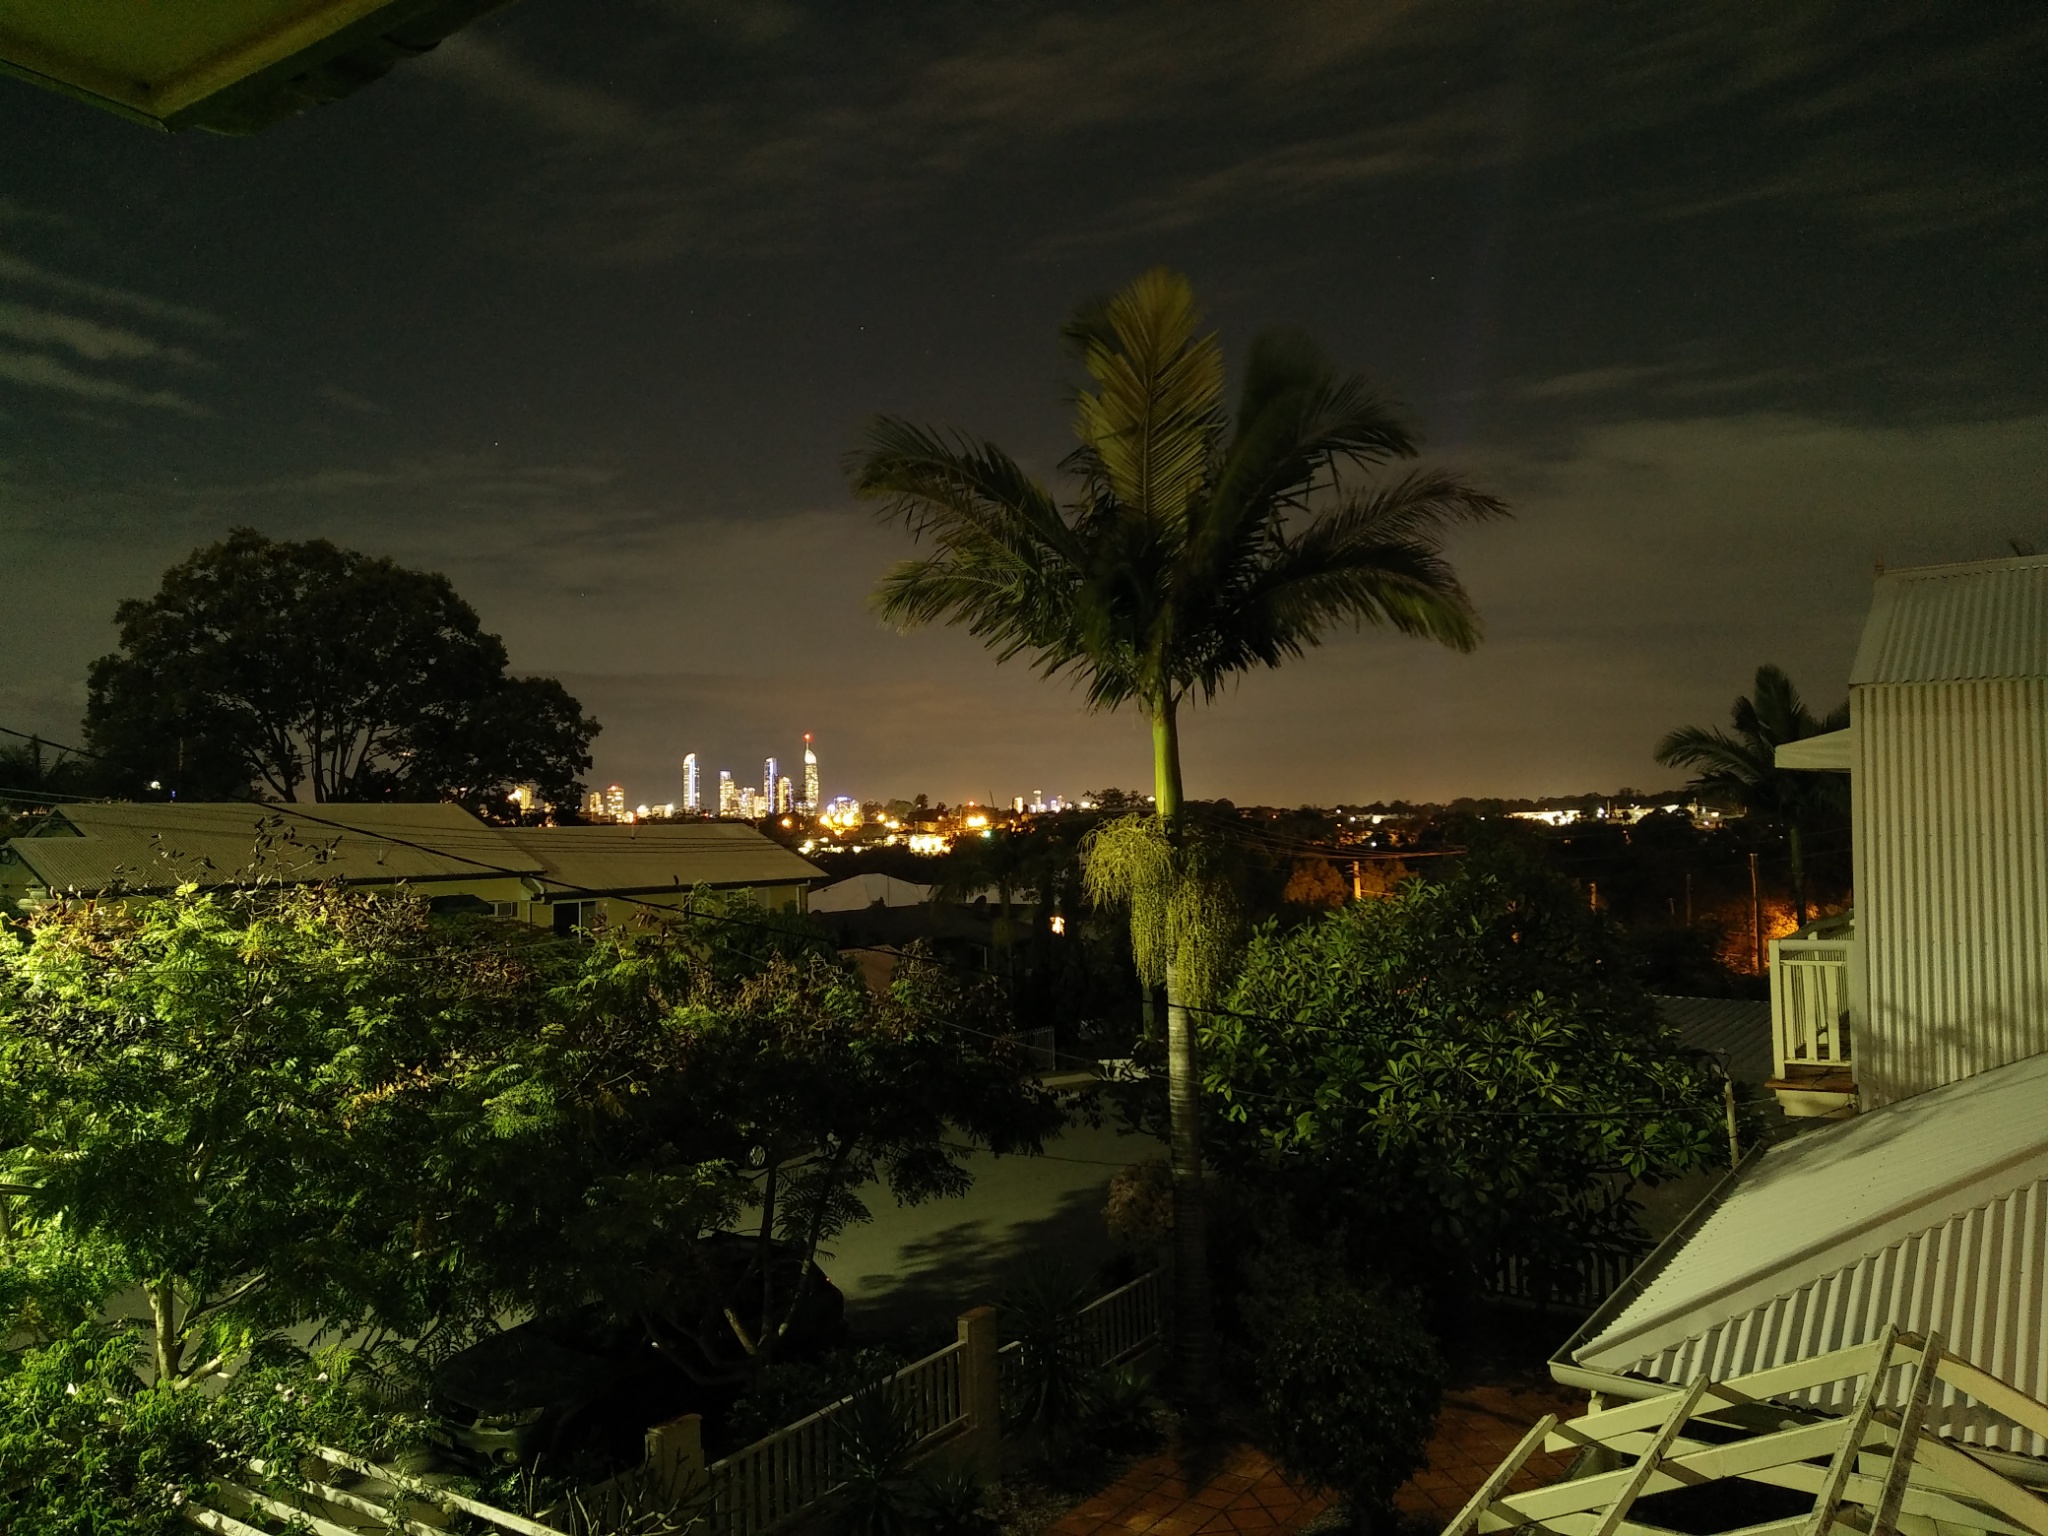
well most people don't seem to dig through the details of the workings of their (phones) cameras, and as the "selfie expert" is probably aimed at people who are "selfie-ists" (handing it to themselves?) few will realise just how good the native camera app actually is ...
So (having already dug into advantages of using RAW over here, here and here) lets have a look at what else (as a photographer) I love about this tool.
First, getting there. Open the camera then click the little bunch of circles which are on the right of the shutter button. That takes you to the settings. From there pick "Expert Mode"
annoyingly (like most phones) the orientation does not switch fully (or even switch at all) despite the phone being oriented ... so you'll have to live with that.
Once in Expert Mode you'll find some interesting features:
You will see that you're in expert mode by the display note (and you can restore "default" by just tapping the X beside Expert Mode) and the new controls and a new focus point picker.
First the most useful control sets are innocuously hidden under the EV The astute will also observe that the "focus point" box has changed shape a little ... more on that in a tic.
Because this screen does not rotate well (I've rotated it a little to make it easier to read. The key adjustment areas are:
- Shutter control (auto and pick your own up to 16 seconds)
- ISO control (auto or pick your own)
- Exposure Compensation (sort of pointless and I'll explain why in a tic)
This is an enormously powerful feature set and liberates the phone from being frustrating for photographers doing low light work to making it a fully functional camera that any photographer will find handy. Lets look at them one at a time
Shutter control
Having control over the shutter is an enormous benefit, especially when you fix the ISO. In the modern age of digital cameras that Auto ISO things it leaves people confused as to what is happening. For a film user, once you loaded the film in the camera it was decided ... you were using (say) 200 ISO and that's that. Film users were intimately aware of how change in ISO was a give and take affair. Sure it gave you the ability to have faster shutter speeds in low light, but it took from you the clarity and sweetness of 100ISO images. The same is also true in digital.
So if you want to get the sweetest images (from a noise perspective) from your camera, always bias towards the lowest ISO you can get your hands on and then lengthen the shutter speed to give the right / desired exposure . Which leads me to:
ISO
So being able to pick your own ISO means you can make images where adjusting the shutter (sorry, no aperture control on phones for "diffraction limit" reasons) will show you exactly the changes you are making to shutter as brightness changes in the picture. So when its really dark, and you've already set the longest shutter you can then start increasing ISO in steps that you're happy with..
Exposure Compensation
So this leads us to Exposure Compensation which (when you have ISO and Shutter locked to your preferences) is sort of a a spare foot ... maybe handy but for what? Its about the least useful component to one who wants to be in control. I suspect its only use is when you've locked the ISO to your pref (say 100) and left the shutter on Auto (because there isn't a choice for anything less than 1/4 of a second which isn't any good in daylight)
But rather than muff about with Exposure Compensation the Oppo F1 camera offers you a more potent tool ... that of Spot Metering.
Watch this spot
So, looking at the screen in Expert mode again we see that "changed" focus point when you go into Expert Mode. This is how it works.
So lets say you move the "focus point" in the usual way (by tapping on the screen somewhere) to over there on the wall (default is center)
because you don't want the foreground in focus ... now the astute will also see that doing such has also altered the exposure, because (for most cameras) the chosen point is also where exposure is biased towards. But that could be too bright or too dark resulting in a dark or light photograph.
This is where you drag the circle out of the square and place that where you want the exposure spot to be metered from ... voilla .. Spot Metering
You can then move the spot to other places (drag it) and find the exposure you like ... thus there is little need for Exposure Compensation (but its not heavy to carry right).
(I'm adding this in 2019 as since I posted this page its been in my top 10 weekly posts, I've recently bought an R11s and found that its actually got less features than the F1, but none the less here's a video I made for that post showing perhaps more clearly how well the "expert mode" actually works)


