I like working with my 4x5 because I can get images that are bigger and more detailed than even a Canon EOS 1Dn MkIII can produce. Sure its not something you can photograph the olympic gymnastics with, but then that's no what I do.
This is one of my "failures" on the day (and why should I put my success stories where poachers can steal them) Its a failure because I forgot to reset the front standard, its not as sharp as I wanted on the right hand side.
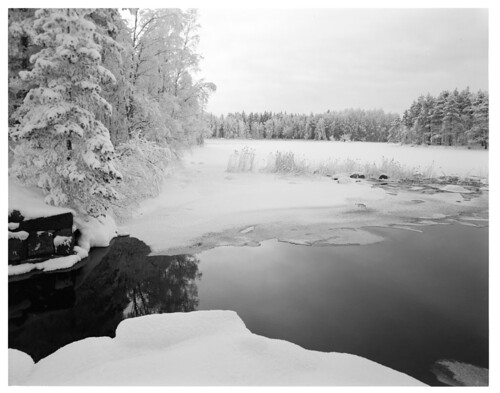
The ice along the stream edge and the reeds however are just where I want them.
In another location not far from there (out on the lake edge). I usually use my digital to make a metering assessment for my LF camera (and it comes in handy for colour balancing in colour negatitve work sometimes too). This is what I got with my G1:
which is a nice image, but I wanted a more abstract look and didn't want such a busy image with more or less everything in focus.
The 4x5 camera of course using a 180mm lens has nowhere near this sort of depth of field (even if I wanted it), instead one needs to apply some tilt (lens plane or back plane) to get things in focus.
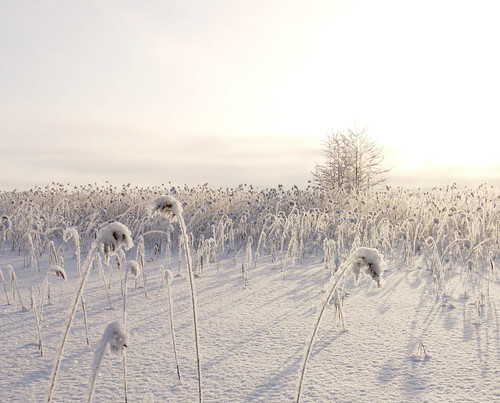
I decided that I wanted to get rid of the focus on the ground snow detail and instead focus on the tops of the grasses and the tree tops. This is what I got...

One of the features in this black and white film stock is that it does a great job in covering wide scene brightness ranges. This can be an advantage, but in this case it lacks in that it just does not get the subtle textures of snow in those foreground grasses. I took a colour negative shot too, but unlike black and white I don't develop that myself ... so we'll have to wait a while for that one to come back from the lab.
I like the control that I get with 4x5 and I like the fact that a half day of photography gives me 6 images. I can focus on them and give them more attention than I could have done with 3000 images.
So, its swings and (tilts?) roundabouts isn't it. I win on some areas, and have to give in on others.
Lastly I'll leave you with a "mistake" which I made, caused by leaving a sheet of anti-scratch paper on the film when I loaded it in the holder ... serendipity works wonders now and then ... despite it being soft looking (created by a thing sheet of white tissue paper infront of the film) I really like the look.

hey, and it was way easier than doing this in photoshop ;-) Of course the 'right one' looks good too..


4 comments:
I like the delicateness of the reeds and the trees along the snow. I like it very much Good job.
Having your work stolen huh...not much you can do about it I suppose.
Hi
well, I sort of think that anything I put up in the "commons" becomes creative common ... so I don't mind.
:-)
How do you go about finding the correct angle for the front stage movements in the 4x5?
I've just got a Mamiya Press with the swing back and am planning to use it for some tilt-and-shift 6x9 but I am having tremendous difficulty judging the best focus point by just looking at the ground glass.
Do you use a loupe?
Hi
ok, a swing back. I'm assuming that its swing is hinged from the base.
The technique depends on the person, there are two systems:
1) measurement and calculation
2) cut and try
I fall into the cut and try category.
Because the image is upside down, the ground before you will be at the top of the screen, and the distance at the bottom. As the lens needs to be extended to focus closer you bring the top of the camera back a little.
Because the hinge is from the base this will disturb the position of the base (extending it) as well as the top.
I've adopted a two handed approach where I begin with the bottom of the glass screen into focus (the distance) and as I tilt the top back (to bring the top into focus) I then adjust focus to keep the bottom in focus.
Naturally I do this slowly and work at at about arms length from the screen so that I can see it all in a glance.
Once its 'really close to right' I then do a little more tuning and then bring out the loupe to check focus.
The foreground focus is the critical one, because as you stop down the increase in DoF will sort out a few minor issues in the background.
Keep in mind also that the plane of focus becomes a wedge, thin close to the camera, getting wider as you go out to infinity. The thickness of the base of the wedge (or how fat or slim it is) depends on the F stop chosen.
Think of this in the same way that if something is 1 meter away DoF is only say 2cm either side of the object, but at 10 meters away its much more distance.
Think in ratios and diagrams, not numbers and you'll be sweet.
Post a Comment