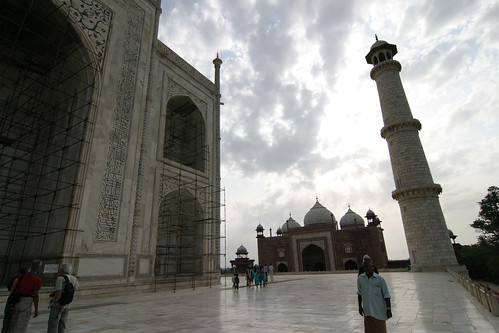
Ok, first this is the JPG that came from the camera ... something really challenging with lighting extremes.
loading the RAW into Photomatix I select (more or less) what I think makes a good 'starting point' of an overly flat image with low strength and very long gamma ... note the settings.
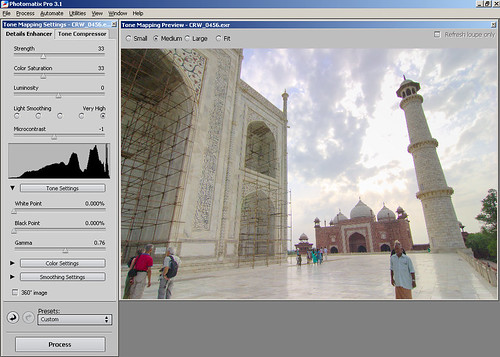
I save this as a TIFF and then load it into photoshop

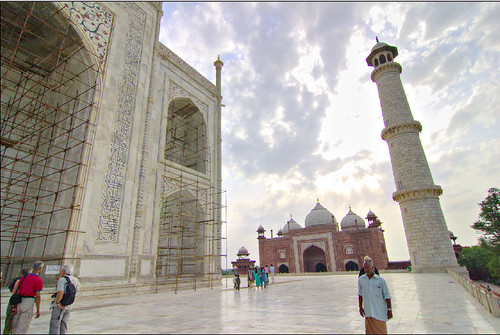
where I apply "local area contrast" which is essentially unsharp mask:
about 15% ~ 25%
about 50 ~ 70 pixels radius
to this I then give a quick curve tweak giving the final item:
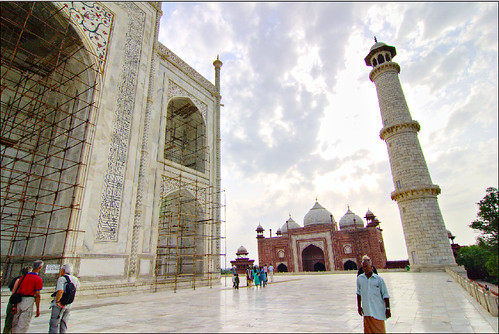
Did you notice the extra colour detail in the scroll work on the left hand side?
I might drop the saturation a wee bit .. but hey, that's up to taste. There may be of course ways of doing this in photoshop with some masks and whatnot, but this all takes a few clicks and can be automated for "batches" of images which are "all contrasty" or whatever.


1 comment:
Oakesan,
Very nice tutorial and interesting workflow. I like the image too, nice work.
JayT
Post a Comment