NOTE: after a comment from Don below I thought I should add that I do not really recommend you turn to a tool like dcraw for your general RAW conversion, as tools such as LR and ACR are more suited to production processing and will be faster. However they do mask much of what is happening happening in the process, so for those who seek to explor and understand what is there in the RAW file I encourage you to play with dcraw.
This got me to thinking about the other issues I have with digital cameras, and that is exposure.
Exposure is something with digital which has driven me nuts, and comprehending it without access to RAW files is like comprehending your exposure on film looking only at prints. Thus this article is about determining exposure and is also a complaint about the tools we have at our disposal for determining a proper exposure.
Lets start with this image, I took it a few weeks back when we had lovely soft -20°C snow that softly lay in big flakes over the garden (some 30cm deep).
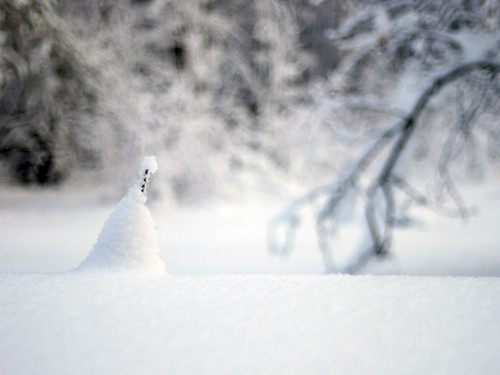
I've tweaked this image a little, so I thought I might present what I had started with. Below is the JPEG image as the camera made it into photoshop.
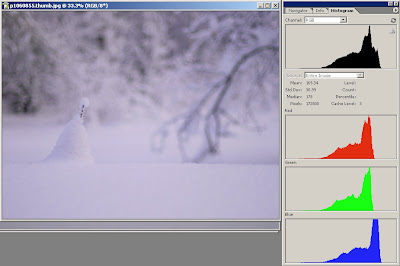 looking at this I did not really use expose to the right (which I am certain is the best strategy for minimizing noise on) but I was a little concerned with the possibility of blowing out a channel.
Out of interest I converted my RAW file using dcraw to make a 8 bit TIFF file with standard gamma. Now understanding gamma is important, nay critical to really getting digital imaging. If you come from a history of printing with enlargers onto paper you may begin to think of this as choosing a grade of paper ... not perfect but that'll do.
The result of the "standard" conversion to a TIFF gave me this ...
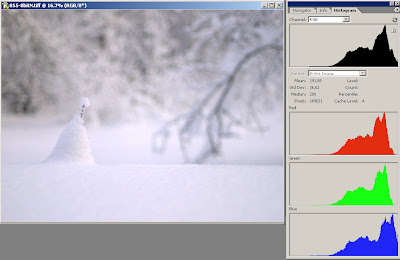 which looks quite different, and quite acceptable to me (close to my personally tweaked one). However it doesn't take much to notice that the blue channel is going to be showing some clipping in there looking at that channel (and I'm sure I can guess just where).
This of course got me wondering what was really lurking there in the RAW file because I didn't see anything like that in the JPEG ... so I converted it using a LINEAR gamma. This basically applies no corrections. Now keeping in mind that digital cameras produce numbers to represent levels (0 is totally black and 255 is totally white), gamma basically applies a maths function to the starting number and then writes a file with the changed number as the new value for the pixel.
Eg
- 1 might become 1
- 10 might become 15
- 100 might become 180
- 180 might become 255
So, using a LINEAR gamma shows us what we had to start with ...
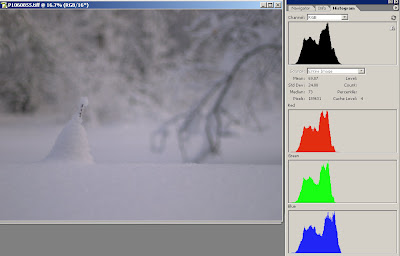
bloody hell ... I call that under exposed if you don't.
Its a reasonably well known (and bitterly complained about) fact that digital cameras histogram is based on the JPG data and not the RAW data. So while we have the cameras light meter for determining exposure it really is not sufficient to work out where clipping is (should you want to expose right).
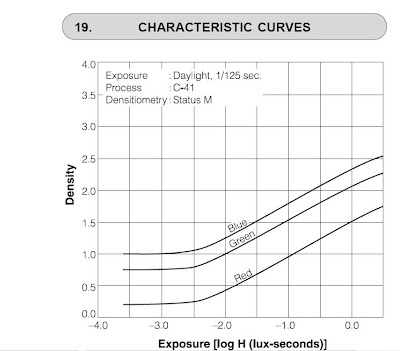 Of course Film is a different creature to digital sensors, especially negative where you can bravely shoot with the sun in your face and still not get a blow out.
This is of course because film has a shoulder which you can see appearing in this spec sheet of the characteristic curve of neg ... the maker (Fuji in this case) cuts the response curve while its still mostly linear but you can see its starting to shoulder off over there to the right hand side.
It gets difficult in film because the linearity of the responses is uneven after this graph stops ... but that's not my topic today ...
So with that thought in mind I thought I'd attack this RAW file and put my sort of preferred gamma for this subject and this lighting. You can see that its really steep and rolls of gently with a taper at both ends (not in a hard angle).
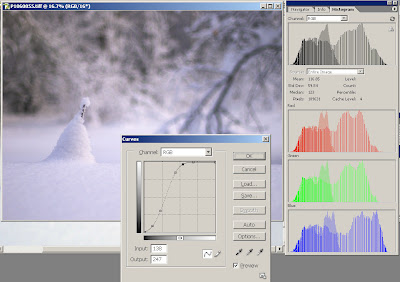
This results in (what I think) is a pleasing rendering of the scene and in keeping more with what I saw with my eyes when I was there.
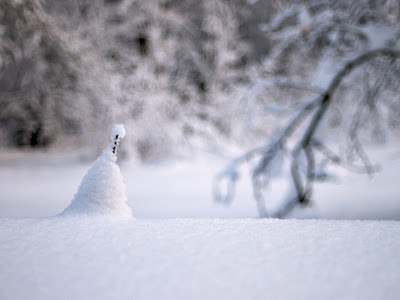 This of brings me to further support that you should never apply harsh machine like maths to a subtle thing like an image and certainly the light meter and histogram are inadequate tools for determining the right exposure or capture of the image in the first place.
If you download and examine that image (click to get a 1600 pixel version) you can see that noise isn't dreadful, but remember this was 100ISO ... it should be nearly perfectly noise free.
The "near enough is good enough" approach may suite some people but just as scene brightness ranges vary and need different gamma applications to obtain the best results, so too do we find histograms as an exposure determination tool inadequate because of the Gamma applied to them. Particularly as I've found that the greatest strength of digital is the subtle renderings it can yield in soft light, its sad that we can't maximize this with the tools on the camera.
I'm tempted to take my spot meter with me ... which if I'm going to do that I might as bloody well use my LF camera with all that hassle.


1 comment:
Hi Don
nice to see you here. Thanks for your comment, I really do need to make clear that this is about exploration and not general processing.
I agree entirely that LR and ACR and other tools are just the ticket for processing.
However this post was about a more scientific and controlled exploration, thus needed more surgical tools.
Thanks :-)
Post a Comment