To be honest that's really just not possible with most gear.
Why do you need this control anyway? Well perhaps you don't, but if you do want to get the best out of a shot, avoiding ugly blow outs (that you may not want) and minimizing noise in your images (again, that you may not want, though some like noise) then getting your exposure 'bang on' is the goal.
As I wrote yesterday, this can be hard to achieve with the in camera tools such as the histogram and the light meter. So today I thought I'd take a 1/3 spaced EV series and pick the one that clips and then the one just before it (1/3 an EV) to demonstrate the differences.
This is the JPG from the camera (set to daylight white balance, and taken in daylight), note that its slightly clipping.
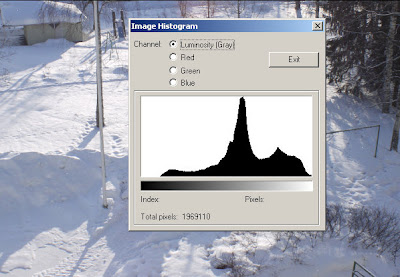 This is the one that's just 1/3 EV less.
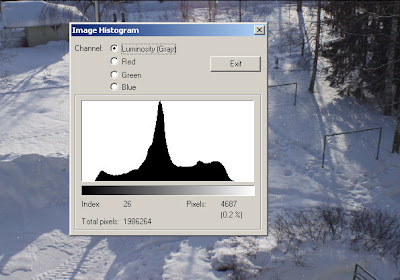 and that histogram would not make you think you only had 1/3 of an EV to go ...
Looking at a linear decoded TIFF using dcraw we can indeed see that the red channel is clipping here.
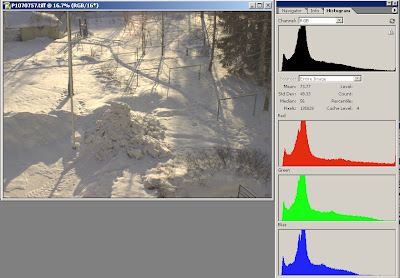
but at 1/3 EV less we're well away from clipping.
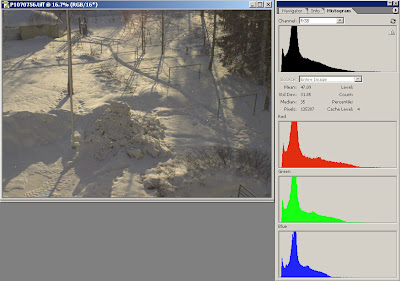
to see just how far away I used the level tool in Photoshop with its ability to show the clipping graphically (hold down the alt key as you slide the white level to the left and you'll see)
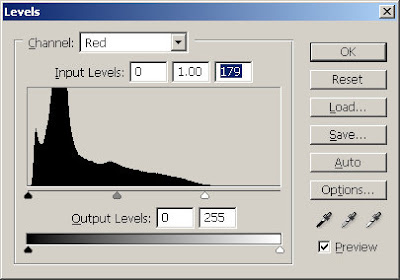 I adjusted it to get the same amount of clipping in both images and as you can see (in the figure beside) I had to essentially strip off 76 steps or levels.
This is significant, as for people who advocate expose to the right it makes it very hard in practice to actually achieve this without bracketing in small steps to get this.
Due to the nature of the linear capture in digital cameras by avoiding over exposure you do run the risk of having far to little data to make the best image your camera can make. Bruce Fraser makes this point well in a white paper published by Adobe which (at the time of writing was still) is published here. Essentially the point is that applying the Gamma to make the image look as it should you stretch the shadows (and thus posterising them) further than you need to.
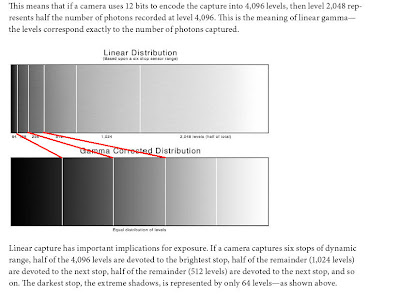
thus the less of your image that's down in the darker areas the better your image will look when its ready to view. That RAW image above looks murky and dull, but when you apply a little gamma to it it starts to shine more.
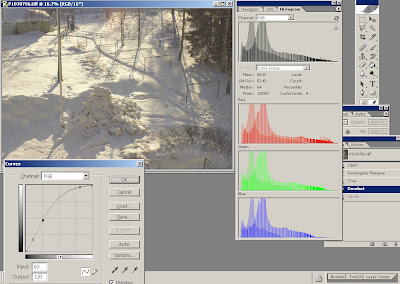
so with gamma applied (by me by hand to my taste in this case) we still don't get clipping and get a better image.
As Bruce suggests in that above article:
You may be tempted to underexpose images to avoid blowing out the highlights, but if you do, you’re wasting a lot of the bits the camera can capture, and you’re running a significant risk of introducing noise in the midtones and shadows. If you underexpose in an attempt to hold highlight detail, and then find that you have to open up the shadows in the raw conversion, you have to spread those 64 levels in the darkest stop over a wider tonal range, which exaggerates noise and invites posterization.
Correct exposure is at least as important with digital capture as it is with film, but in the digital realm, correct exposure means keeping the highlights as close as possible to blowing out, without actually doing so.
Since he wrote that (and as sadly he has passed on he will not be updating it) perhaps the cunning tricks that camera makers can do with their in camera JPG engines has increased, making picking that clipping point harder. In the case of my Panasonic G1 I can see that if it clips in the histogram then it clips in the RAW, but you'll need to experiment with that on your camera.
Tools such as ACR and LR have hilight recovery tools (so too does dcraw) which can make it easier to get better images from your raw files by perhaps blowing out the high lights a little and then setting up curves in LR to bring your images back to how you like.
I hope that by reading this it has helped you move a little closer to getting the best quality image you can out of your digital camera.
The RAW we've just worked through (saved as a JPG of course)
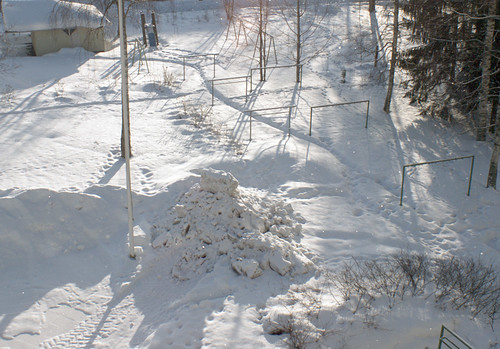
the JPG as it came out of the camera
which one do you prefer?
is it worth your effort?
now those are questions I can't help you with :-)


3 comments:
This is a timely post for me. I recently picked up a small P&S digital camera, the Canon S90. The main appeal of this camera for me is it's ability to get quite good images in very low light. That and it's very small size and full controls. I'm finding that it's also capable of delivering quite stunning images in good light but like a small highly tuned gasoline engine, it's "power band" is very narrow requiring careful exposure. Your post, and attached white paper are proving useful in figuring this thing out.
Thank you.
Charles
you're totally welcome. I look forward to seeing some more images from your S90 on your blog :-)
Charles
if you're playing with smaller sensors and the camera has RAW, then this article may also be helpful
http://home.people.net.au/~cjeastwd/digital/inCameraArtifacts.html
it it was with an old Coolpix 5000
Post a Comment